TLDR
An i3-6100, an off-the-shelf 80+ Gold PSU, and an ASUS Micro-ATX mainboard with improper BIOS settings result in an idle power consumption of around 18W. Enabling ASPM support and PKG C-State support in BIOS reduces the power consumption to around 14W with CPU and PKG in C-State C8. Don’t rely on Auto, set everything explicitly to Enable. For even lower power consumption, get an RM550x in the 2021 version. Since it’s currently unavailable and because it’s 130€, get a PicoPSU-90 with a high-quality external 12V DC 60-90W power brick as an alternative for around 55€. Don’t mind that it only has 20 pins but make sure to buy a brick with 12V DC. With that, you can further drastically reduce the power consumption to 7W. The difference between a 60W and 90W power brick is below 1W. For a power consumption below 7W, buy a Fujitsu or Mini-ITX mainboard. Also, make sure to check out this video by Wolfgang on YouTube and this list of power-efficient hardware configurations.
Like so many tech people out there, I run a home server since around 2020, on which I have a couple of services running. These most notably include syncthing for file synchronization, nightly backups with restic, and forgejo for git projects with LFS support. I kept that server running at my parent’s home for historical reasons since they need a NAS. In the past year, I often thought that it would be nice to have another server at my apartment so that backups (especially from my phone) and file synchronization are fast. For that reason, I started to look into the used hardware market again and informed myself about which components I should choose.
Since I was up for a challenge and because energy prices in Germany are nasty (up to 0,40€/kWh), I decided to go for an power-efficient build around 7W. This video by Wolfgang on YouTube inspired me in doing so and is the base for information I used. Watch it for a thorough summary of all that is important. I will touch on some of the points discussed there. Also, check this list of power-efficient hardware configurations for an overview.
The platform
As Wolfgang reports in his video, for power efficiency, you should get an Intel CPU of at least the fourth generation (Haswell). I decided to get a CPU from at least the sixth-gen. Further, you should either get a power-efficient Fujitsu mainboard or at least a Micro-ATX or Mini-ITX board.
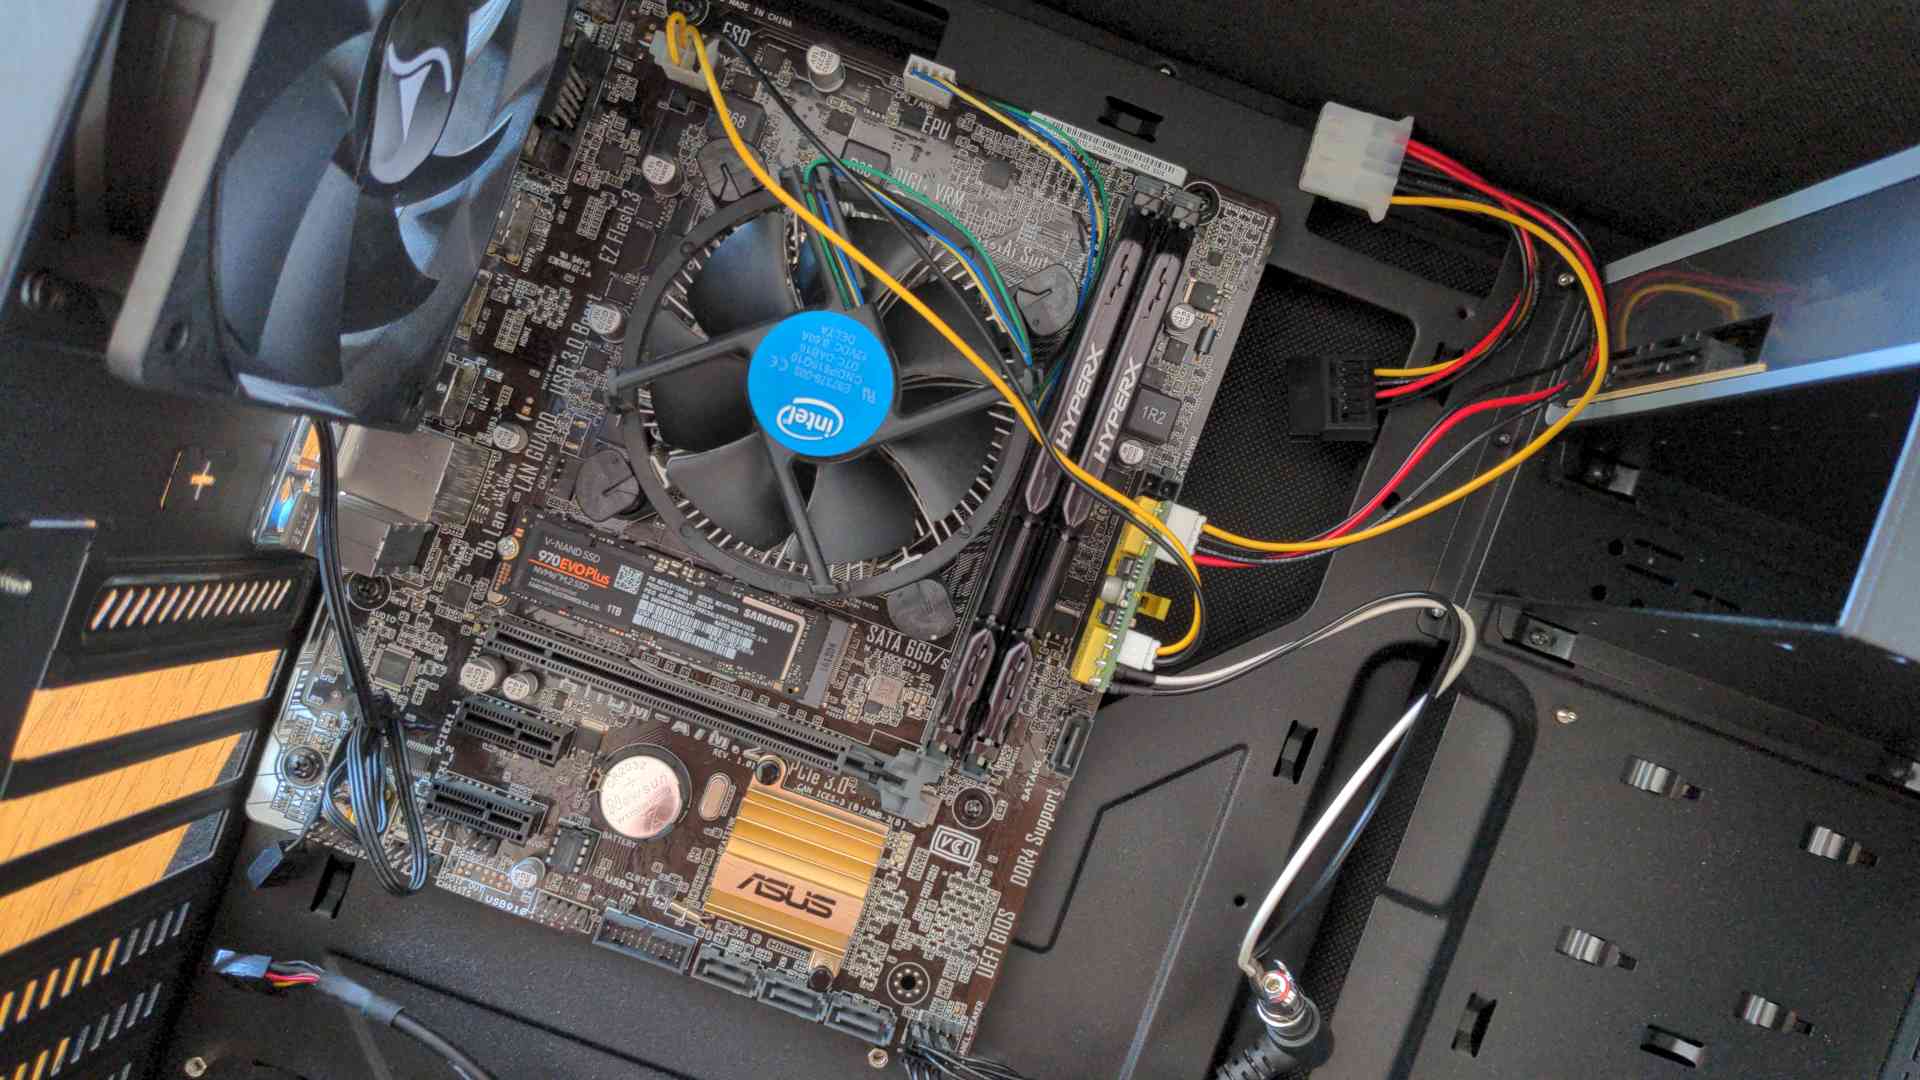
While researching on eBay, I quickly found that buying the mainboard, CPU, and RAM in one package is the cheapest and easiest option, so I followed the market for a few weeks in search of a bundle of a Micro-ATX mainboard with at least an i3-6100 and at least 8GB of RAM. I won an auction of around 60€ including shipping, for a package of:
- i3-6100 with cooler
- 16GB of DDR4 RAM
- Asus H110M-A/M.2 (Micro-ATX, HDMI, M.2 slot)
First Build
Once my hardware package arrived, I quickly installed the assembled mainboard into a case together with a be quiet! PSU and a Samsung NVME SSD, which I had lying around. After installing NixOS (more on that will follow) and booting up the fresh system, the power draw looked okayish. 18-19W in idle measured by a Shelly Plug S (monitor detached).
C-State Optimizations
I quickly started investigating if I could further reduce the power draw and found that the package was not going into C-States lower than C1 while the CPU should support up to C8 (watch details on C-States in Wolfgang’s video).
After researching a bit on German forums, I found that BIOS settings might be causing that. Therefore, I rebooted into the BIOS and searched for anything related to power. While the names and existence of most of the settings depend on the mainboard manufacturer, here are some guides on what to look for:
- Enable ASPM (Active State Power Management), related to PCIe power management.
Native ASPMseems to be a common option here. - Enable reporting higher (= more efficient) C-States.
ASUS seems to embed an option that sets the PKG C-State Limit with a similar name.
For me, that was set to
Autoby default. Either selectingEnable(weird because the option is called limit) orC8helped.
We can learn that we should never trust Auto, at least on ASUS boards.
So set everything related to power to Enable or another state that implies enabling.
With these changes in place in the BIOS, I quickly booted into NixOS again and was happy to find that the CPU and PKG now stayed in C8 for over 95% of the time.
With that, the wattage dropped to 14W, still double my target of 7W.
Micro Optimizations
Since I was initially not planning to buy more hardware to go lower, I tried to get as low as possible with what I had, knowing that I would not see significant improvements anymore. But there were a few things I wanted to try out.
At that point, the system used less than 15W most of the time, so it was safe to remove the case fan. I could not see any improvements on my Shelly Plug S since it only reports integers. However, I still decided to keep it unplugged. Further, I changed the CPU fan profile to an even quieter version than Asus’s silent profile. With that, I saw an idle consumption of 13W for the first time, to which both of these changes contributed.
Since less hardware means less power draw, I also tried to remove one of the two 8GB RAM sticks. Unsurprisingly, I could not see any changes in the power draw again since people report < 0.5W improvements by removing RAM sticks. I decided to keep using all of the 16GB RAM I had in hand.
Switching to a PicoPSU
After researching and watching Wolfgang’s video for at least the fifth time, I decided that I should give replacing the PSU a try. The reason is that usual PSUs, like the one I installed, perform poorly at low loads since they are operating way out of their sweat spot. At 8W, my PSU (be quiet! Pure Power 11, 80+ Gold, 400W) runs at 2% of its maximal power draw of 400W. Even though it is 80+ Gold rated, it is relatively inefficient at that load.
The only exception to this seems to be the RM550x (2021) by Corsair, as reported by Marc Gutt in his blog. That one still performs well below 10W, but only in its 2021 version. As of writing this, it’s sold at 130€ but is constantly out of stock on all marketplaces in Germany.
Because of availability and the price tag, I decided to go the route of a PicoPSU. These small form factor PSUs only do DC conversions and use an external efficient (laptop) power brick for AC to DC. Since you can buy external power bricks with 60W, these PSUs tend to provide ultra power efficiency (8W is ~13% load with 60W). Marc Gutt has another article on these and their caveats. Make sure to check that out if you plan to connect PCIe devices or HDDs to your system.
I decided to go with the lowest power one that my mainboard supports, the PicoPSU-90 (90W).
Don’t get the PicoPSU-80 if you have a usual mainboard/CPU configuration that needs another PSU pin for the CPU since only models above and including the PicoPSU-90 provide that.
Further, I decided to get a Leicke 60W external power brick since it was recommended by multiple sources and is from a small company based in Germany.
Both together cost me around 55€.
Make sure to get one with 12V DC output. Otherwise, you might kill your PicoPSU.
Further, note that the PicoPSU supports anything between 0-90W, so you can choose whatever wattage you like.
I got the 60W one since the Shelly Plug S reported at most 60W, both while booting up and under heavy load (stress -c 2 -i 4 -m 4).
Installation of the PSU took little time. Don’t mind that the PicoPSU has a 20-pin plug for the mainboard, while usual mainboards need 24 pins. Just plug the cable so that the pins align and leave 4 of the pins empty. In the hope of a massive improvement, I booted up the system and checked the idle power draw. And wow, does replacing the PSU make a difference – the power consumption reduced from 13-14W to a final result of 7W.
So I hit precisely my target of 7W. I’m more than happy with the final result and the insights I gained. I really enjoyed the whole process, so I can recommend everyone to build such a power-efficient system. My current guess is that I would need to replace the mainboard with a Fujitsu or a Mini-ITX one to further reduce the power consumption. Let’s see what the future brings on that front.
Bonus: 60W vs 90W Leicke power brick
Additionally to the 60W Leicke power brick, I also ordered one with 90W to be able to compare the power draw and for future usage. Against my expectations, using the 90W one actually increases power consumption from 7W to 8W. Although, I’m pretty sure that the difference is below 1W, again because the Shelly Plug S only measures integers.